The four numbers you need
- Line length you want to see, in metres.
- Throw distance: from the mounting position to the middle of the line, in metres.
- Ambient light at floor level during the busiest shift, in lux.
- Mounting height and the surface you can fix to.
Miss number two and the specification collapses. A projector aimed from 3 m covers a third of what the same unit covers from 9 m, so "which model for a 6 m aisle?" cannot be answered without it.
Projection ratio in one formula
Every lens has a ratio, written as 1 : R, where R is how many metres of line you get per metre of throw:
line length = throw distance × R
Our LED line markers ship with three interchangeable lenses. The values below are the geometry each one produces:
| Lens (full angle) | Ratio R | Line at 4 m | Line at 6 m | Line at 8 m | Line at 10 m |
|---|---|---|---|---|---|
| 55° (narrow) | ≈ 0.9 | 3.6 m | 5.4 m | 7.2 m | 9.0 m |
| 75° (medium) | ≈ 1.5 | 6.0 m | 9.0 m | 12.0 m | 15.0 m |
| 100° (wide) | ≈ 2.3 | 9.2 m | 13.8 m | 18.4 m | 23.0 m |
Read it backwards to choose a lens: for a 4 m line at 5 m of throw, you need R = 0.8 — the 55° lens at a slightly shorter distance, or the same lens aimed a little closer. For a 20 m line from a 9 m wall, you need R = 2.2 — the 100° lens. A laser line works the same way, with two available optics (1:1.25 and 1:1.85) and a 9 m maximum throw.
The ratio also tells you how wide the band gets. The wider the lens, the longer the line and the wider each individual stripe of light — which is why a 100° lens at 12 m gives a soft, generous lane, and a 55° lens at 3 m gives a tight, bright edge.
Mounting height and angle
Aim steeply rather than across the floor. At grazing angles below roughly 10–15° the band stretches, speckles on a glossy floor, and gets blocked by the first pallet in the way. Practical rules:
- Mount 2.5–4 m up for indoor walkways — above forklift mast height at the point of installation, or protected by the racking.
- Keep the unit off the traffic face: set it back 200–400 mm from the rack face or wall so a pallet cannot clip it.
- Point the axis at the middle of the run, then use the bracket's 360° + 180° adjustment for fine trim.
- Expect the near end to be brighter than the far end on long throws; that is normal, and another reason to split long runs into segments.
Lumens vs ambient light
What matters on the floor is the contrast between the line and the surrounding surface. As a working rule, aim for the projected line to be around three to five times brighter than the floor it sits on. Use the table below as a starting point, then confirm on site with a test unit — photometric estimates never survive contact with a real aisle.
| Area | Typical floor illuminance | Suggested line class |
|---|---|---|
| Dim aisle, night shift, storage area | 50–100 lx | 80–100 W LED, or 2 W laser |
| General warehouse aisle | 150–300 lx | 100–150 W LED |
| Lit production hall, packing area | 300–500 lx | 200–300 W LED |
| Dock apron in daylight | 5,000 lx+ | Not practical to out-project; use signage or night-time projection |
Example 1: a 4 m wide walkway
A 4 m line between two rack runs. The only free wall is 5.5 m away on the aisle axis. R needed = 4 ÷ 5.5 = 0.73. The 55° lens at 5.5 m gives about 5 m — slightly long, so either accept a 5 m line (often desirable: it overlaps the next segment) or move the unit to 4.5 m for a 4 m line. Model: 100 W LED marker, one unit, mid-aisle.
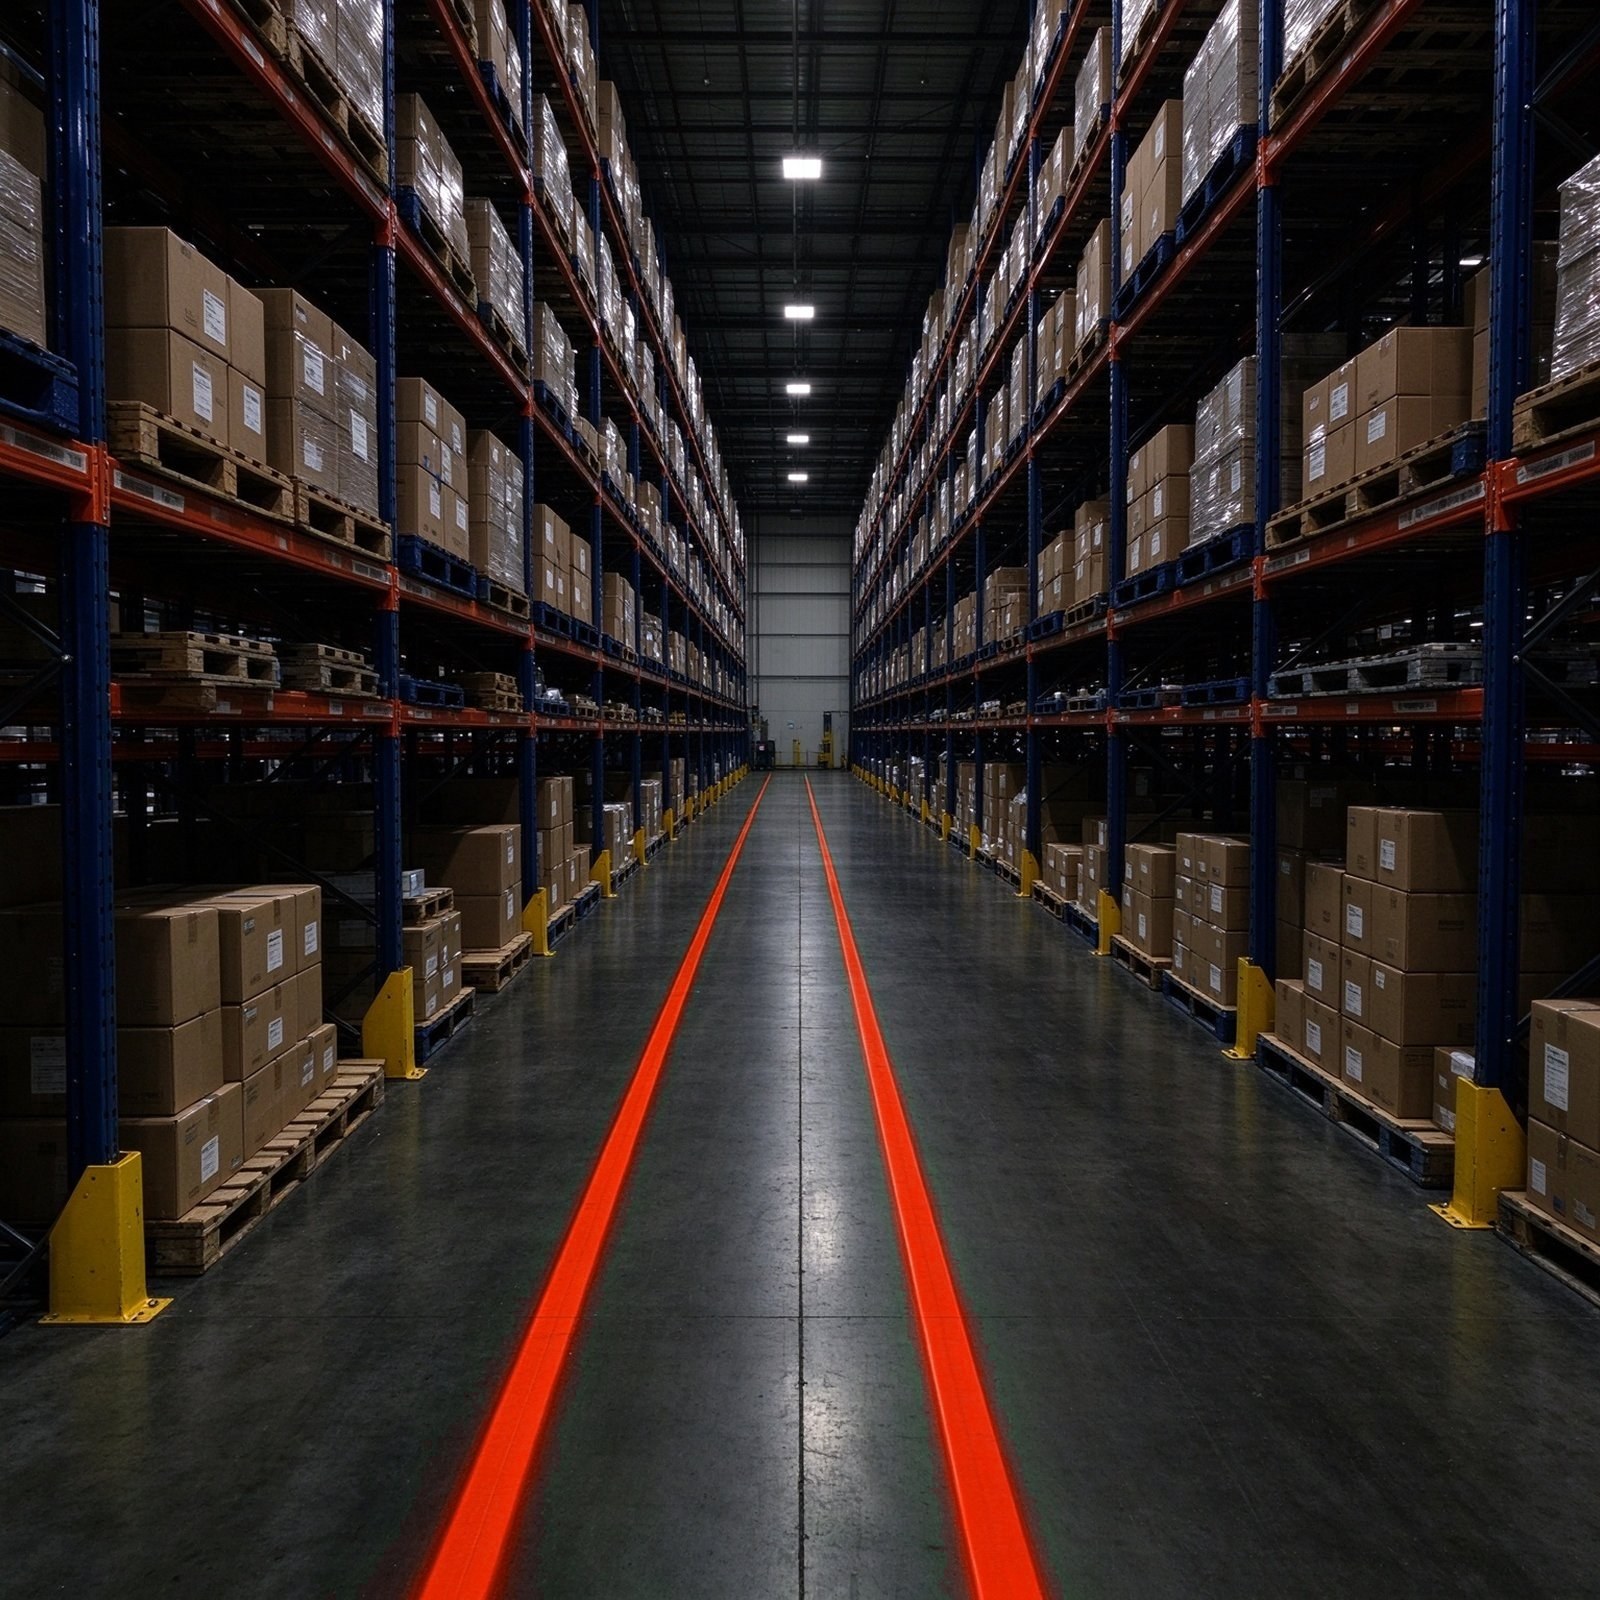
Example 2: a 40 m rack run
One unit cannot do this well: at the throw distance available you would need an R of 4, and no lens goes there. Split it. Two units on opposite walls, each 10 m from the middle of its 20 m segment, with the 100° lens: 10 × 2.3 = 23 m of line each, deliberately overlapped in the middle. That is 40 m of continuous line from two fixtures — and if one fails, the aisle is still half-marked.
Example 3: a 3 m crossing at a dock door
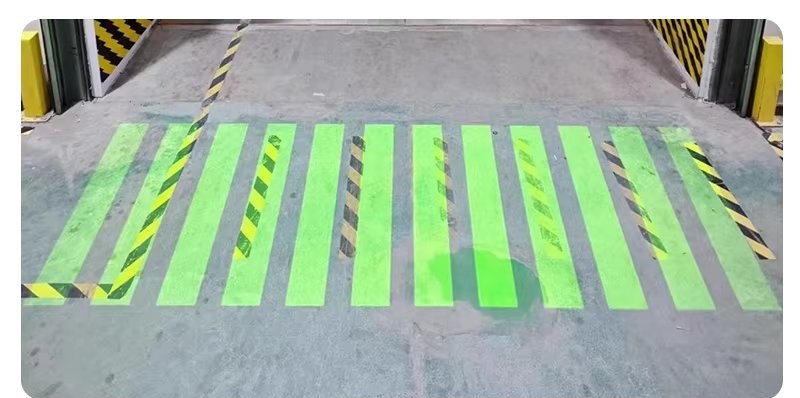
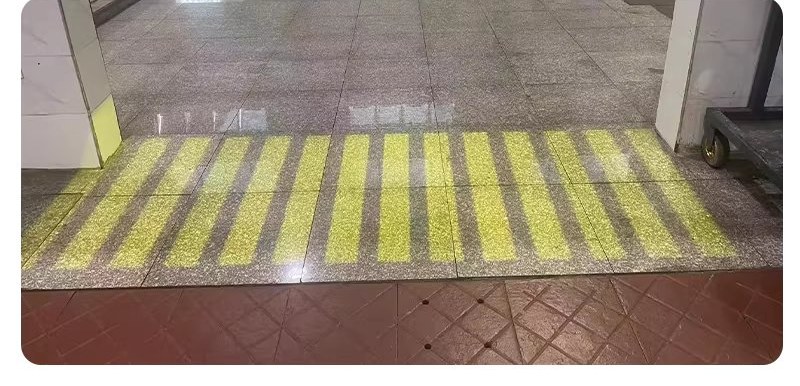
A zebra crossing 3 m wide, mounted on the door frame 3.5 m above and 3 m back. R = 3 ÷ 4.6 ≈ 0.65 — again the narrow lens, aimed slightly closer. For a crossing that has to read from the far end of the dock, use the 75° lens and a 150–200 W unit, so the band is wide enough to look like a crossing rather than a scratch.
Five common mistakes
- Sizing by aisle width alone. Width is the line; the wall distance is the lens. Without both, the model is a guess.
- Mounting at the end of the line instead of the side. Projectors are happiest shooting across a run at 60–90°, not down its length.
- Ignoring the pallet envelope. A unit at 2.2 m in a racking aisle will be hit. Mount above the highest load or behind a guard.
- Buying for the brightest room on the calendar. Size for the shift that actually runs, then add one step of power for margin.
- Forgetting the power point. A 24 V DC feed or a socket at the mounting point is a five-minute decision now and a cable-tray project later.
Pre-order checklist
- Line length per run (m), and how many runs
- Throw distance available at each mounting point (m)
- Ambient light at floor level (lx), busiest shift
- Mounting height and surface (wall, column, ceiling, racking)
- Floor finish and gloss level
- Colour code in use on site
- Power available at the mounting point
- Indoor / outdoor, wash-down, freezer or dusty zone
- Who will re-aim after layout changes, and with what access equipment
Send that list — or a photo with a tape measure in it — to Sales@gobofactory.com and we will return a model, a lens and a mounting position.
FAQ
Can one projector cover two aisles?
Sometimes, if both lines sit within the same cone and the unit can be mounted high enough between them — but you lose independent aiming, and one failure takes out both lanes. For permanent layouts, one unit per lane is more robust.
Does a wider lens make the line dimmer?
Yes. The same lumens spread over more metres means fewer lumens per square metre, so a 100° lens at the same distance gives a longer but softer line. That is why long, bright runs usually mean more units rather than a wider lens.
How do I check the result before committing to a full rollout?
Order one unit for the worst-case aisle — the brightest, longest or dustiest — and run it for a shift. If the line reads clearly from a forklift cab at 15 m, the specification is right; if not, change the lens or step up a power class before ordering the rest.